Large Ships
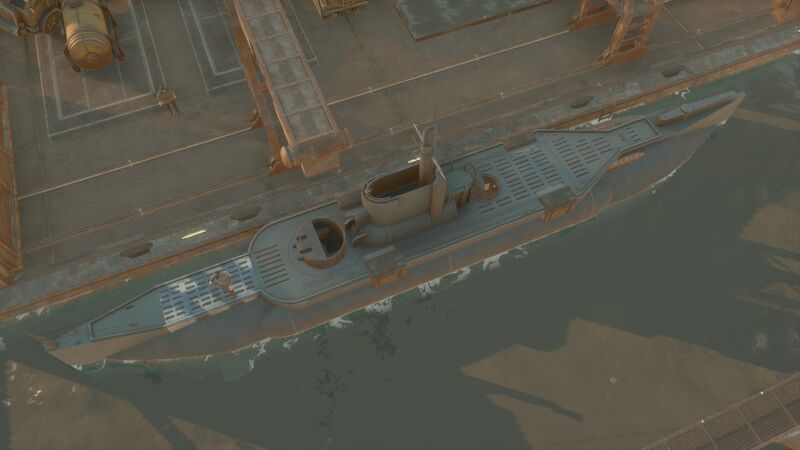
Large Ships are massive heavy-armoured classes of ships with walkable bottom and top decks. They use Heavy Oil as fuel. Coastal Guns don't fire upon them.
Production & Repair
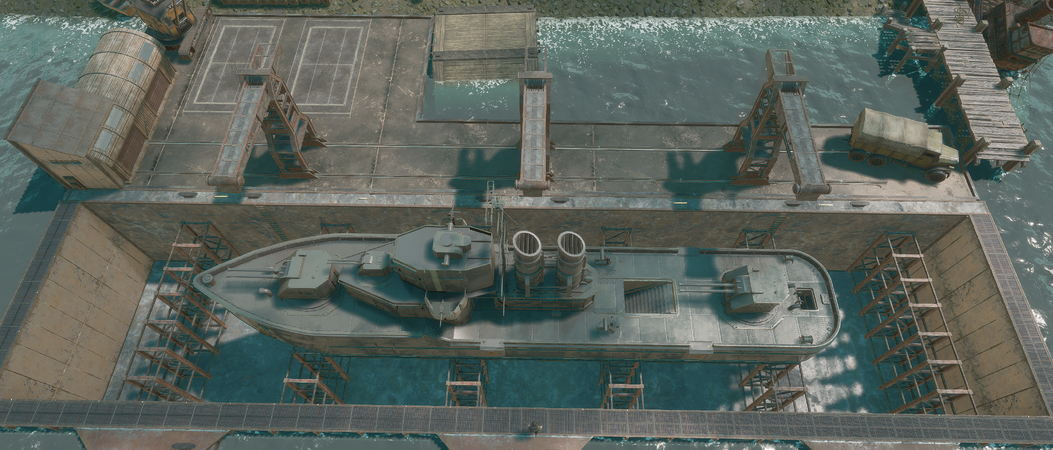
All Large Ships are built at a Dry Dock.
Unlike other vehicles, they cannot be repaired manually with a Hammer and Basic Materials. Their health, armour, and subsystems can only be repaired at a Dry Dock. The process costs 10 Naval Shell Plating and takes time. The duration is proportional to the amount of health lost and is 4 hours to go from 0% to 100% health. The progress bar in the Dry Dock menu during repair represents the ship's current health.
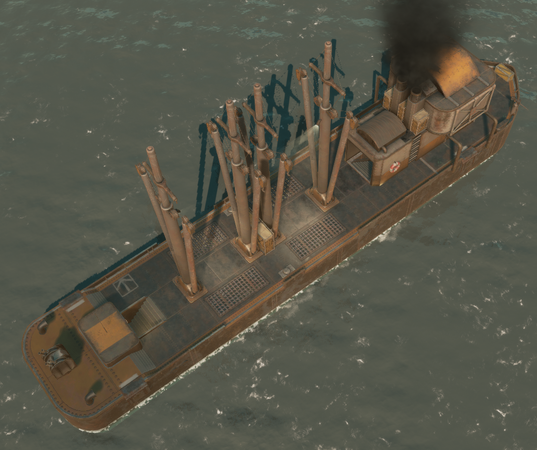
Since you cannot use a Hammer on Large Ships, their only health indicator is the number of smoke stacks coming out of them:
- one smoke: below 90%
- two smokes: below 70%
- three smokes (third one is slighly larger): below 50%
- four smokes: below 30%
- five smokes (fifth one is very large): below 10%
Squad Reservation
Large Ships can be reserved for a Squad to prevent any non members from toggling the ship's anchor or changing the engine settings and to allow members to eject any player from the driver seat with the "Eject Driver" button in the menu ![]() .
.
Unlike other vehicles, the reservation lasts forever.
Engines
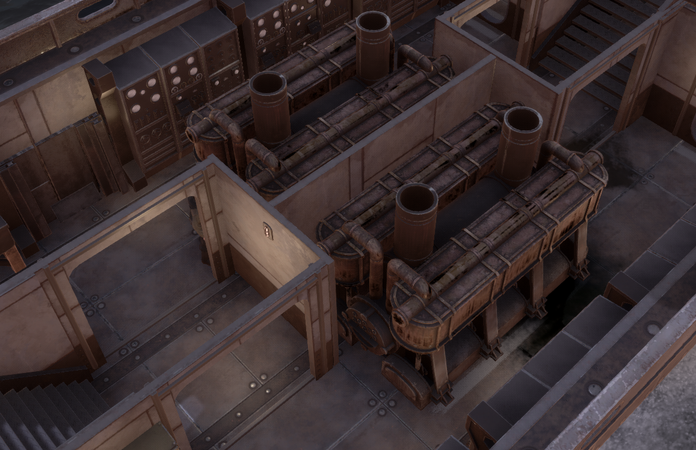
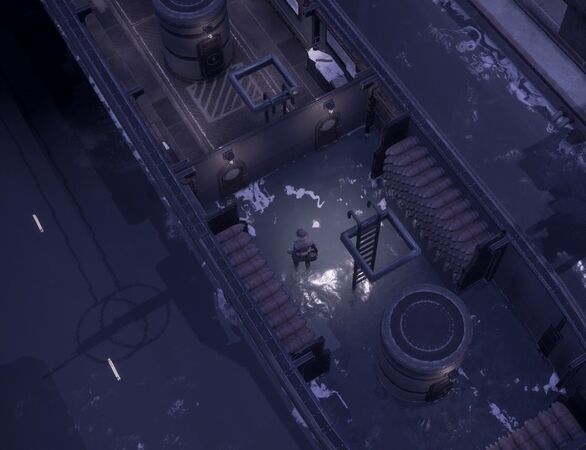
Large Ships have two large engines in their bottom deck. Each engine can be set to either "Forward" or "Reverse" with a Wrench to modify the ship's handling. The status of each engine can be checked by pressing E on them.
- When both engines are set to "Forward", the large ship moves forward with
W, backward withS(very slow acceleration and speed), left/right withA/D(very slow rotation speed). - When both engines are set to "Reverse", the large ship moves backward with
W, forward withS(very slow acceleration and speed), left/right withA/D(very slow rotation speed) - When one engine is set to "Forward" and one to "Reverse", the large ship rotates on itself with
Win the expected direction or in the opposite direction withS(but with much slower acceleration and speed)
The large ship can always brake with Spacebar to quickly stop its movement.
The large ships have lowered speed and acceleration when they have water onboard.
Anchoring
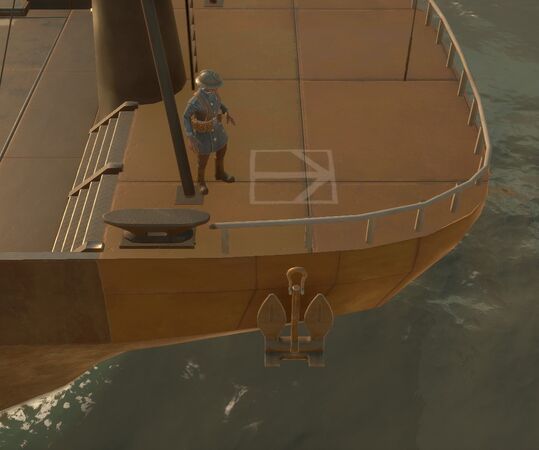
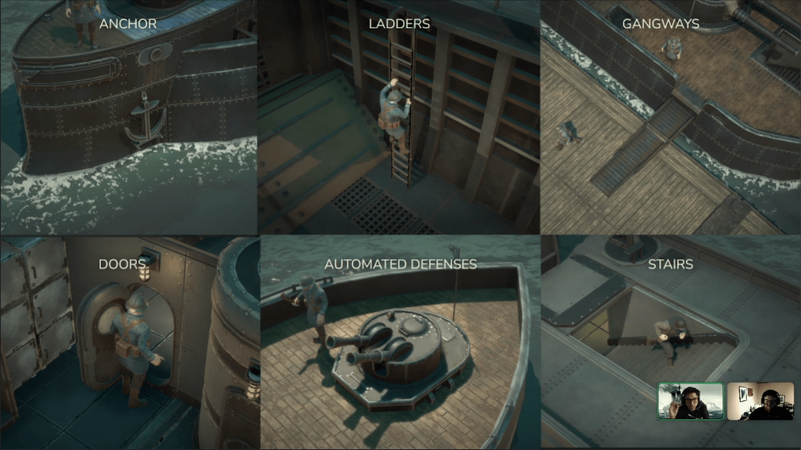
Large Ships cannot be stored in Seaport stockpiles, they have to anchor somewhere. The anchor is toggled by pressing E in the anchor's interaction area on the ship deck, it is indicated by a white arrow in a white square symbol. If a large ship is reserved for a Squad only its members can toggle the anchor.
The anchor can only be dropped if the Large Ship is not within 150m of the Region border, doesn't have leaks, has no water inside, and isn't close to an anchored enemy large ship.
All ship ramps need to be retracted for the anchor to be raised.
When anchored, the behavior of Large Ships is changed:
- They become immobile and leak-proof
- They can deploy their various ramps to dock
- Most of their crew seats become inaccessible except for spotter, crane operator, and secondary armaments.
- Their engine settings can't be modified
- Additional functionalities are enabled
Some Large Ships have automated Naval Turrets that are active when anchored. They rapidly shoot mortar shells at any ships (except Large Ships) and amphibious vehicles on water that are between 75 and 200 meters from them, except if the targets are within 35m of a region border.
Sinking
With their massive health, large ships are hard to kill the normal way, but they can also be sunk.
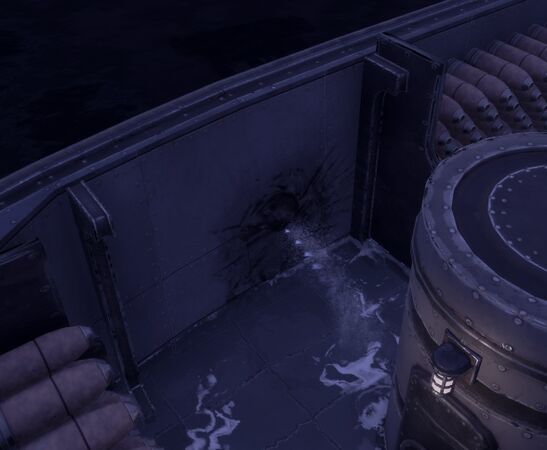
When hit by certain heavy explosives or anti-tank weaponry, there's a chance for a hole to appear in the hull where the projectile hits. The chance of a hole depends on the ship type and the weapon used:
- Torpedo: 100%
- Other High Explosive ordnance: 50% (75% for Submarines)
- Armour Piercing ammo: 25% (37.5% for Submarines)
- "penetrating" Explosive ammo: 25% (37.5% for Submarines)
- Anti-Tank Kinetic ammo : 12.5% (18.75% for Submarines)
- Other weapons cannot cause leaks.
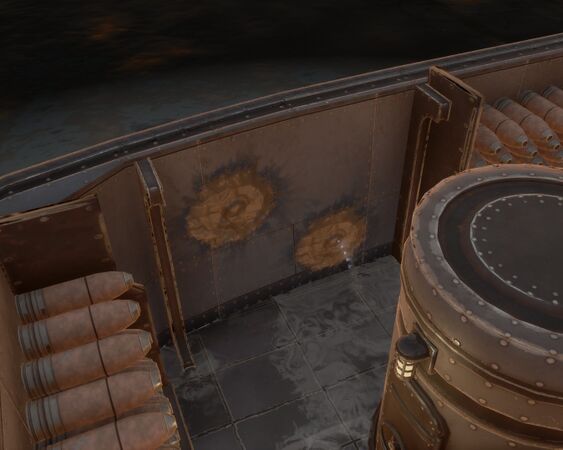
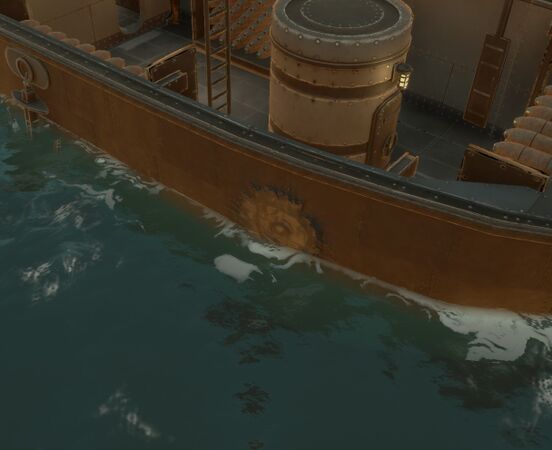
If the hole is below the ship's water line it starts pouring water into the connected room, and into the adjacent rooms if the bulkhead doors aren't sealed. The ship's water line gets lower the more water is in the rooms, until the ship eventually sinks which kills everyone onboard. Water in rooms can be bailed using a Water Bucket (reloading with R) and thrown overboard. The holes in the hull can be repaired with a Hammer and cost 50 Basic Materials (85 for Submarines).
When a room is flooded with enough water, its bulkhead doors can no longer be opened or closed. This occurs when the water level in a room is knee-high and the water's surface start looking like the water outside the ship.
Water from flooded rooms can be bailed through closed bulkhead doors.
Torpedo Holes
Direct hits with Torpedoes always cause a leak and it is much larger than other holes. The large hole must be repaired with 35 Metal Beams and this only partially repairs it, reducing the leak flow. To actually repair the large hole, the large ship must be repaired by a Dry Dock.
Deployment & Respawn Point
Some Large Ship types allow players to set their Forward Spawn Point and respawn there. Some also allow players to deploy onto them from the Home Region.
Embarking
Every Large Ship has 2 Gangway ramps on each side that can be toggled with E when it's anchored. The ramps just require any kind of solid flat ground to successfully deploy (Shipyard, Beach, docks, Dry Dock, Navy Pier, etc...). They are narrow and are only useful for infantry to embark/disembark.
Friendly players in the water next to a large ship can press E to instantly climb aboard (teleported on the top deck).
List of Large Ships
Tips
- Items dropped on a Large Ship deck are automatically placed in the ship’s closest stockpile (or inventory if it can't fit in) after 5 minutes instead of being despawned.
- Players and vehicles are sheltered from Snow Storms when below the deck of a Large Ship.
- Like other ships, they despawn if they remain untouched for 48 hours.
- They cannot be locked with
L, unlike other vehicles. - They cannot be stolen by the enemy faction.
- They can ram and instantly destroy amphibious land vehicles and Motorboats in their way.
- Crossing a Region border with a large ship takes 60 seconds instead of 5.
- Unlike every other vehicles, Large Ships appear as
 on Map Intelligence.
 - A friendly ship can push a Large Ship to help it maneuver faster
- The driver seat's entrance is always indicated by a circle inside a square.
- During Rain Storms, a small amount of water can visually appear in the bottom deck of Large Ships. This doesn't have any effect on them.
- On Warden large ships, the anchor is always next to the large white and blue painted area.
- AI Naval turrets can can be used to get rid of enemy naval blockade (e.g. freighter wall).
- Similar to smaller ships, Large Ships take damage when parked for too long under Bridges, however the grace period is longer.
Gallery
The Engines of a Titan Battleship
The anchor and its interaction area at the rear of a BMS - Bluefin
The BMS - Longhook viewed from the rear
A Conqueror-Class Destroyer being built in a Dry Dock

