Artillery refers to the weaponry on vehicles, structures, or handheld that is capable of firing indirect projectiles over long distances. They require teamwork and coordination to be used effectively. They use varying ammo types but they all deal High Explosive damage, have an inherent inaccuracy which increases with range, and their projectile is affected by the wind and take a couple seconds to land.
Ammo Types
Artillery Platforms
Here's a list of the weapons, structures, and vehicles that can fire artillery ammo, with their range and inaccuracy displayed.
- Mortar (Range: 45-80m, Inaccuracy Radius: 5.5-12m)
The Coastal Gun does not count as artillery.
Artillery Mechanics
Dispersion
Except for the Emplacement House mortar, all artillery platforms are innaccurate and their inaccuracy increases with range. An inaccuracy radius of X meters means the shell can land anywhere in a circle with X meter radius.
Wind
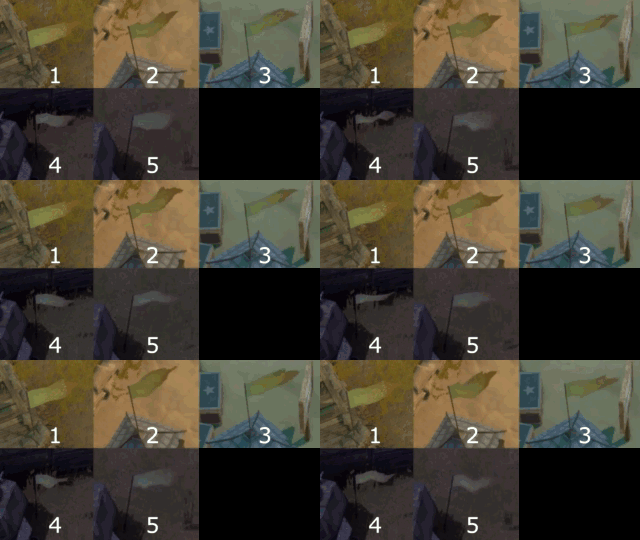
All artillery shells are affected by Wind, with the shell's impact area depending on the strength and direction of the wind, along with the equipment's own shell dispersion. The wind's effect doesn't change with range. The direction and relative strength of the wind can be observed on all flags in the game, such as on Watch Towers or Pillboxes. The wind can change every couple of minutes, and even more often and more erratically during storms.
The 5 levels of Wind Strengths can be observed on the flags:

No Man's Land
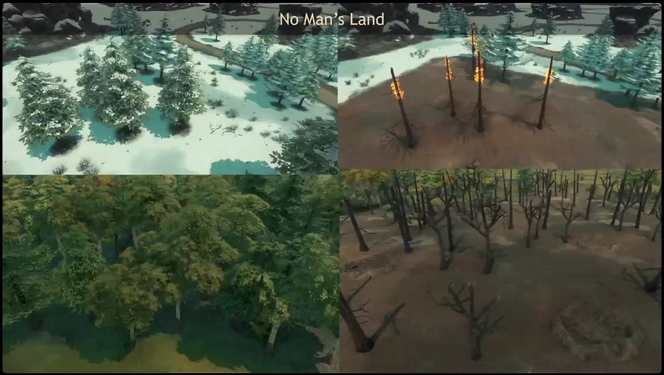
120mmm, 150mm, or 300mm artillery bombardments can transform the landscape into a No Man's Land and change the way combat and building is handled. No Man's Land can be created anywhere with enough artillery shelling and has the following effects:
- Ruined Terrain
- Terrain hit by artillery bombardment changes aspect, its color can give you an idea of how much bombardment the area has received (light brown, dark brown, grey, dark grey).
- Bombarded terrain becomes muddy during Rain Storms.
- If an area has been heavily bombarded, a grey filter is applied to the screen of players in it, similar to the red filter applied to areas hit by Rockets.
- Craters
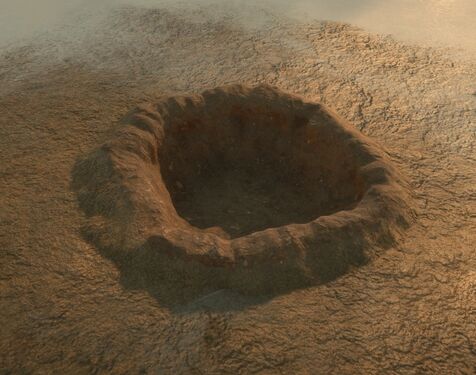
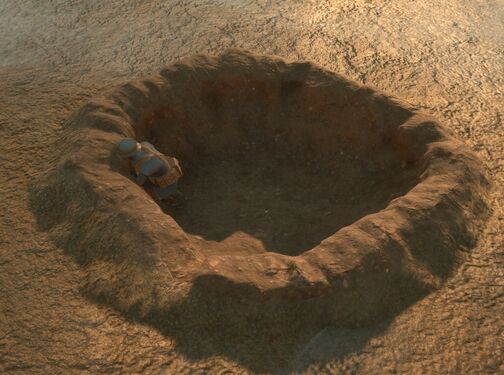
- Artillery bombardment can create Craters. Small ones with 120mm shells and large ones with 150mm and 300mm shells. They can be used as a cover position by infantry and are indestructible, unlike Trenches. They do not shelter you from snow storms. They can be filled in and removed with a Shovel (takes 200
 for small crater and 250
  for large).
- Trees
- Artillery bombardment can ruin and even destroy trees and bushes. Trees will go from having bright green leaves, to burnt tree trunks if damaged enough. Trees will not be fully destroyed, no matter how much damage they take. Bushes will be fully destroyed, and will never grow back.
- Structure Debuff
- Structures on bombarded terrain become more vulnerable to damage. The effect depends on how heavily bombarded the terrain was, which is visually represented by the look and color of the ground (light brown, dark brown, grey, or dark grey). A structure built on terrain at maximum devastation receives twice as much damage as normal.
- Ruined Garrisoned Houses
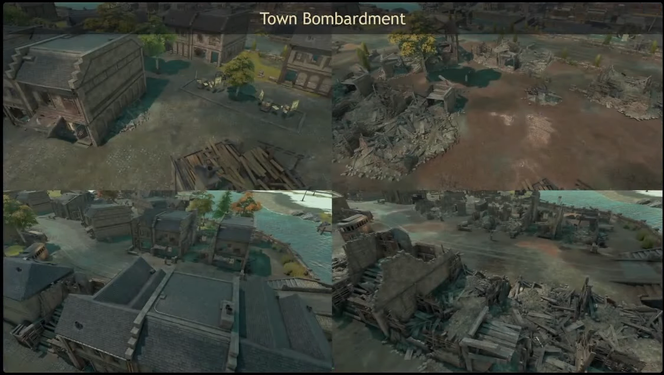
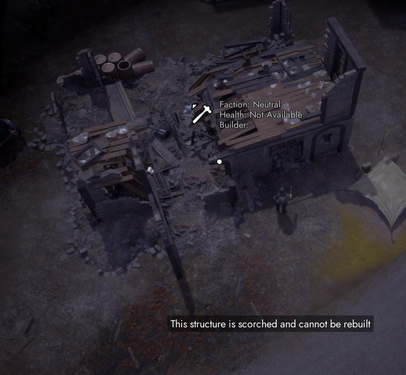
- Garrisoned Houses hit with enough artillery bombardments will convert to a ruined state and cannot be rebuilt. This does not apply to Safe Houses and other town buildings. Weapons that deal Demolition damage also apply this effect.
Crew Roles
Depending on the platform used, artillery can be played in different ways. However the fundamentals remain the same, artillery requires a minimum of three players to operate efficiently: a Spotter, a Gunner, and a Loader.
- Spotter
- Scouts the battlefield for targets
- Calculates the distance and azimuth needed for the artillery pieces to hit their target
- Observes shells landing and communicates aim adjustments to the gunner(s) to compensate for the wind and get better accuracy
- Gunner
- Fires and reloads the artillery piece
- Loader
- Carries the large ammunition to the artillery piece
- The role that ultimately determines how fast an artillery piece can fire
Depending on the piece of equipment, certain roles will combine, as they either do not require a dedicated Loader, or able to be blind-fired due to their massive artillery dispersion.
Tactics
Artillery is extremely effective when used in a constant barrage, rather than firing in inconstant intervals. It serves as area denial, base of fire suppression, and destruction of dense defensive networks (like at a bridge). It is a great opening before a friendly push, or as suppression of an enemy push. The enemy defenses are suppressed, damaged or destroyed. Enemy base of fire (MGs, AT weapons, snipers, mortars, tripod weapons) will be suppressed or killed if they are out in the open or inside weaker structures like pillboxes. Enemy not garrisoned inside defensive structures will be too scared to take positions exposed to artillery fire. Large bunkers can then be slowly destroyed. The only remaining enemy positions not too vulnerable will be trenches, which can be suppressed, fragged and assaulted by your infantry due to the enemy's base of fire being silenced. Once your infantry has taken the enemy's front positions and trenches, your artillery can start firing further and your armored vehicles can start their push.
Defending against Artillery
Artillery can be countered by the use of Emplaced Weapons in Trench Emplacements. Emplacements are very sturdy when in a trench and the trench itself take reduced damage from High Explosive damage type. The emplacement gunner can still be hit by lucky artillery hits but not much is lost since the gun and its ammo aren't affected.
The best counter however is always counter-artillery to shut down the enemy artillery. Bunkers with Howitzer Garrisons are a must since their retaliation is only triggered by High Explosive damage. Otherwise you'll need to bring your own artillery, spot the enemy artillery piece and target them manually.
External Tools
While it is possible to guess-and-check where Artillery will land, there are external calculators that will make the Spotter's job much easier.
Recommended calculators:
Gallery
Before (Left) and after (Right) severe artillery bombardment
Before (Left) and after (Right) severe artillery bombardment
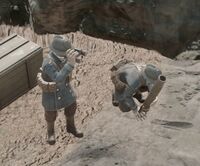
A Warden soldier hiding inside a large crater
A ruined Garrisoned House showing that it can no longer be rebuilt

